While using Windows 10 lots of users experiencing BAD_POOL_HEADER that appear with the error code 0x00000019. This error represents the about corrupted pool header. For the users who don’t have much technical knowledge, this error is scary like it sounds. What is BAD_POOL_HEADER Error? It is a Windows 10 error related to Windows memory allocation. In most of the case, users start seeing this error just after they install fresh hardware or software – usually the antivirus programs – that do not work fine with your Windows PC. Although in some cases, the faulty routers, drivers, bad sectors, and other disk write issues might be the reason behind this Windows 10 BSOD error.
Bad Pool Header Windows 10 Error
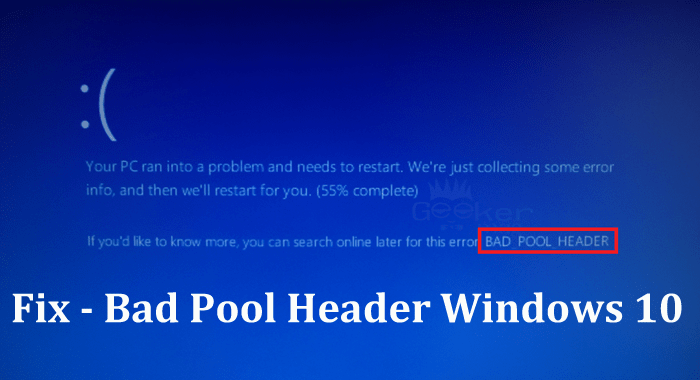
This error normally shows users a blue screen with error name BAD_POOL_HEADER. Just like shown in the following screenshot: In case, you’re not able to start Windows 10 in the Normal mode and seeing the same blue screen again and again; then you can try troubleshooting suggestions discussed in upcoming lines. Majority of the users were able to fix the same error using one of the tips listed below. So without further delay why don’t you start reading about them:
1. Boot into Safe Mode
Lots of users shared that they fixed the error just by booting into the Safe mode in Windows 10. So the first troubleshooting suggestion is to boot into Safe Mode and see if this fixes the issue. In case, you don’t know how to do that, then check out my previous tutorial on how to boot Windows 10 in Safe mode.
2. Uninstall Recently Installed App or Program
In case, you start seeing the Bad Pool Header Windows 10 Error just after installing any software or antivirus program; then I highly recommend you to uninstall it and check if this fixes the issue. In most of the cases, the Windows 10 bad pool header error start appearing due to third-party programs. You can uninstall it by navigating to Settings -> Apps -> Apps & features. On the right side, you will get the complete list of the programs you have installed. Just click on it and uninstall the recently installed application.
3. Uninstall Newly Installed Hardware
In case, only after installing new hardware, you see this BSOD error in Windows 10, then it might be happening due to missing latest hardware drivers. You can try to find the drivers. For that, Make a right click on the Start button and from the context menu select Device Manager. From the list of the hardware find the one which you have installed recently. Make a right click on it and select Uninstall. Reboot your system and check if this fixes the Bad Pool Header Windows 10 issue or not.
4. Disconnect External Devices
Somes time users can see the same error due to external devices connected to the system. To troubleshoot the issue disconnect all the external devices and peripherals except the mouse and keyboard and reboot your system. Now check if this resolves the issue. If it works fine for you then, it is confirmed that one of the connected external devices is faulty and causing the problem. Try to disconnect all of them one by one and find out the main culprit and replace it. In case, this troubleshooting suggestion doesn’t work for you then try the next suggestion.
5. Temporary Disable Fast Startup Feature
Sometimes due to the Fast Startup feature of Windows 10 users can see the BAD_POOL_HEADER as sometimes this functions can conflict with the system. So it is recommended to disable fast startup temporarily to troubleshoot the issue. Here is how you can do that: Type Fast Startup in the Start menu search bar and when it appears in the search result click to open the desktop app. After that click on the Power Options -> “Choose What the Power button does” -> “Change Settings that are currently unavailable.” Now uncheck the box for “Turn of Fast Startup” and then click on the Save changes. Reboot to apply the change and check if this fixes the issue. In case, you’re still seeing the Windows 10 bad pool header error, then following the same procedure enable the Fast Startup and try the next suggestions.
6. Update Device Drivers
Sometimes due to faulty or corrupted device drivers, you can see the bad pool header windows 10 error. So try to update the device driver via Windows Update. You can also update the device drivers manually. For that make a right click on the Start button -> Select Device Manager-> Right click on the Device listed -> Click Update Drivers. Just follow the instructions as suggested. Following the same procedure, you can update all device drivers one by one. Once done reboot your system and check if this resolves the issue or not.
7. Perform a Clean Boot
Try to perform a clean boot in Windows 10 and check if this fixes the issue. For that search System Configuration in the Start menu search bar and when it appears in the search result click to open it. Under General tab uncheck Load startup items listed under Selective Startup. After that move to Services tab and check the box for “Hide All Microsoft Services” and then click on Disable all button. At last, click Apply and then OK button. Reboot your system and check if this fixes the issue. If this fixes the issue, then it is confirmed that one of non- Microsoft service is the reason behind the error you see. If not, undo all the changes.
8. Perform Hardware Clean boot
You can also perform clean hardware boot on Windows 10 to troubleshoot the issue. In this case, you need to disable all the hardware which are not necessary for a system. Launch Device manager. For that right click on the Start button and select the same from the context menu. Try to disable drivers for the following hardware: To disable drivers just right click on listed device and from the context menu select Disable. Do the same for all of them one by and reboot the system. If this fixes the issue, then it is confirmed that one of the devices is the reason behind the error. You need to test one by one and find the main culprit.
9. Run Windows Memory Diagnostic Tool
You can also take help of inbuilt Windows Memory Diagnostics tool to figure out the system memory issues. For that, In the start menu, search bar type “mdsched” and when the same desktop app appears in the search result click to open it. A dialog box will appear, click on the button which reads “Restart Now and Check for the problems“. Once the process the process is completed Launch the Event view and look for the test results in the entry named as MemoryDiagnostics.
10. Investigate the RAM
Usually, the investigation of the RAM is done by one of the hardware experts. If RAM is causing the issue, then he will figure it out. If RAM is faulty then its try to purchase the new one.
11. For Highly Technical Users
In case, you under technical terms then you can visit this Microsoft page to find more about the BAD_POOL_HEADER That’s it. I hope you find this troubleshooting guide on how to fix Bad Pool Header Windows 10 Error useful.