In Windows 11, the company has scaled the Segeo UI don’t for higher readability and better user experience. Still, it’s possible that not all users like Windows 11 default font and would like to replace it with one they prefer.
How to Change Default Font in Windows 11
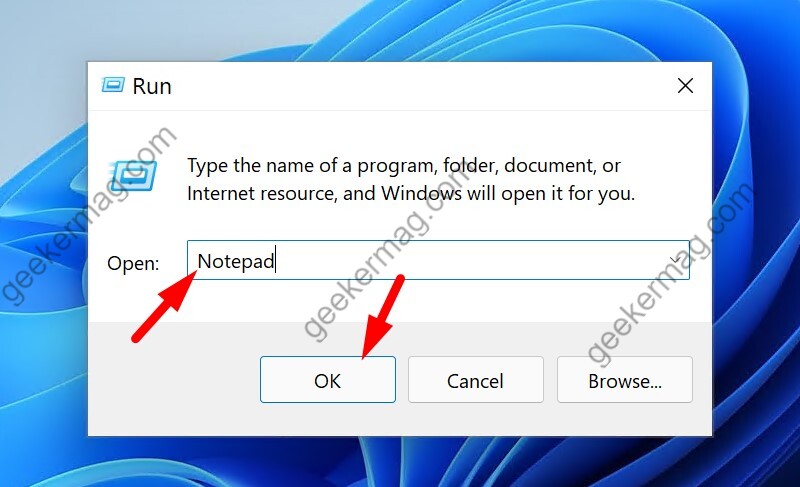
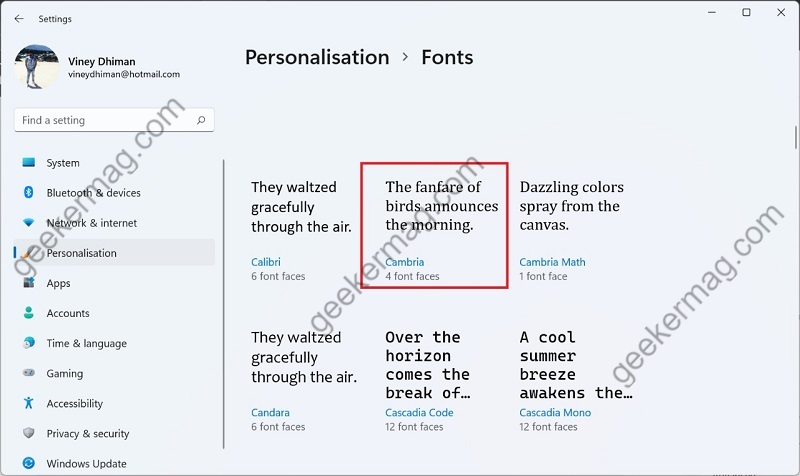
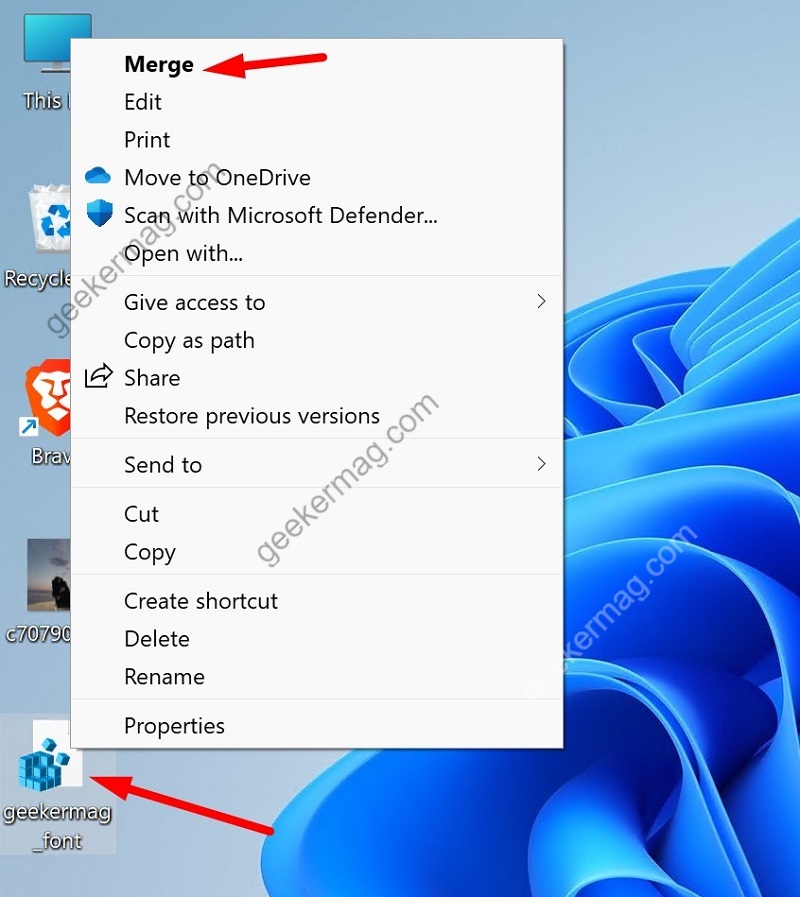
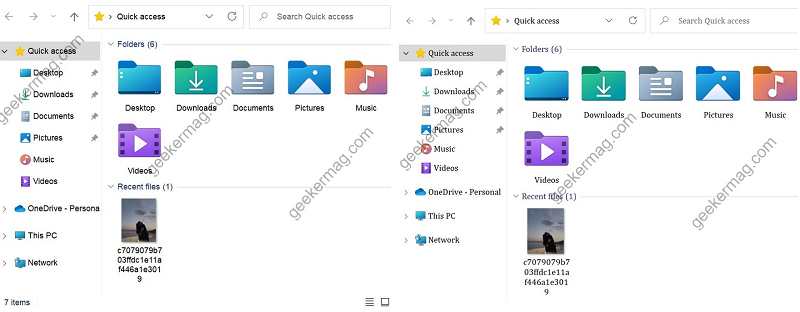
Just like you change the default font in Windows 10, it is also possible to change Windows 11 default font as well. Here in this post, we will share step-by-step instructions on how to change it. So let’s get started: Open the Run command tool by pressing Windows + R on your keyboard. Here, you need to type notepad and click OK to open the Notepad app, Copy the following code in the notepad app. Keep in mind that you need to replace FONT with a custom font name that you want to set. [HKEY_LOCAL_MACHINE\SOFTWARE\Microsoft\Windows NT\CurrentVersion\Fonts] “Segoe UI (TrueType)"=”" “Segoe UI Bold (TrueType)"=”" “Segoe UI Bold Italic (TrueType)"=”" “Segoe UI Italic (TrueType)"=”" “Segoe UI Light (TrueType)"=”" “Segoe UI Semibold (TrueType)"=”" “Segoe UI Symbol (TrueType)"=”" [HKEY_LOCAL_MACHINE\SOFTWARE\Microsoft\Windows NT\CurrentVersion\FontSubstitutes] “Segoe UI”=“FONT” If you don’t know the exact name of the font that you want to use, then here’s how you can find it: Open Windows 11 Settings with Windows + I key combo and then go to Personalization. Scroll down and choose Fonts in the Personalization. Under the Available fonts section, you will find a list of various fonts that you can set. Select the one that you want to set for your Windows 11 PC. For this guide, we are settings Cambria font in Windows 11. Make sure, the font that you want to set is listed under the Available fonts section, else you won’t be able to set it, Or you can download it from Microsoft Store. On the Font details page, you need to scroll down to the Metadata section and then look for the entry Full name. Copy the name of the font and replace it with FONT in the notepad file as shown below in the post. Save the notepad file. To do this, press CTRL + S and then enter the file name with the .reg file type. Finally, click on save. For example, geekermag_font.reg. Now that you will have the Registry file. You need to right-click on the .reg file and click on Show more options > Merge from the context menu. When you see the following dialog box, click on Yes to continue. Once done, you need to reboot your PC to apply the new font system-wide. From now onwards, you will see a new system font on your Windows 11 PC. You can check the following screenshot for an idea. Apart from this registry workaround, there are various third-party Windows 11 Font changer tools available on the internet that you can also use if you don’t find this method convenient. That’s all about a blog post on how to change the default font in Windows 11. I hope it helps.