System restore is a nifty feature that comes preinstalled in Windows OS and is available in Windows 11 as well. It helps in creating a backup of important files and settings in Windows OS when your computer is in a fixed state called a Restore point or System Restore point. In case, installation failure or data corruption occurs, then System Restore will help you return back to the state of the computer when it was working properly. In short, it helps in repairing the Windows environment without reinstalling Windows 11.
How to Create a System Restore Point in Windows 11
Out of the box, System restore feature is disabled in Windows 11. If you want to use it in the future, then you have to create a System Restore point first.
Enable System Restore feature in Windows 11
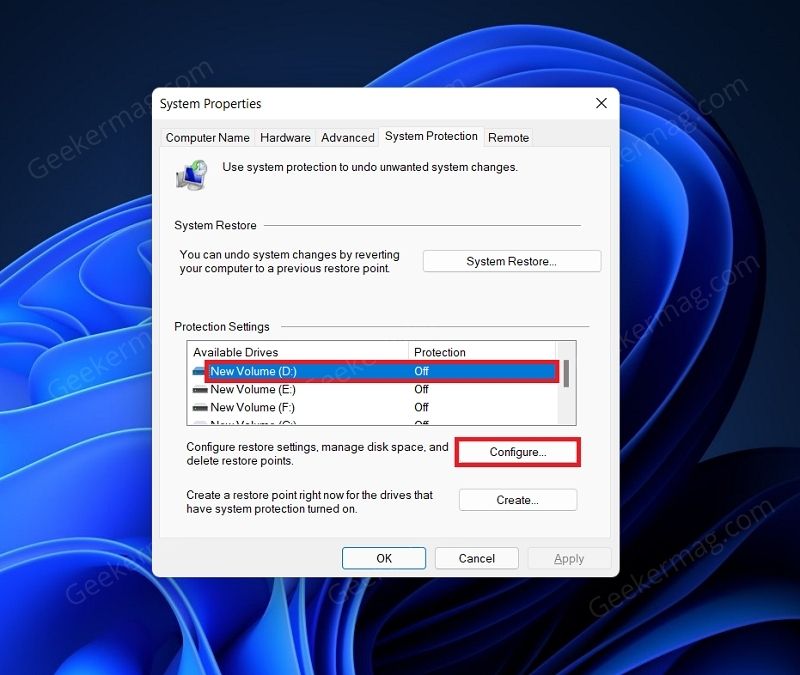
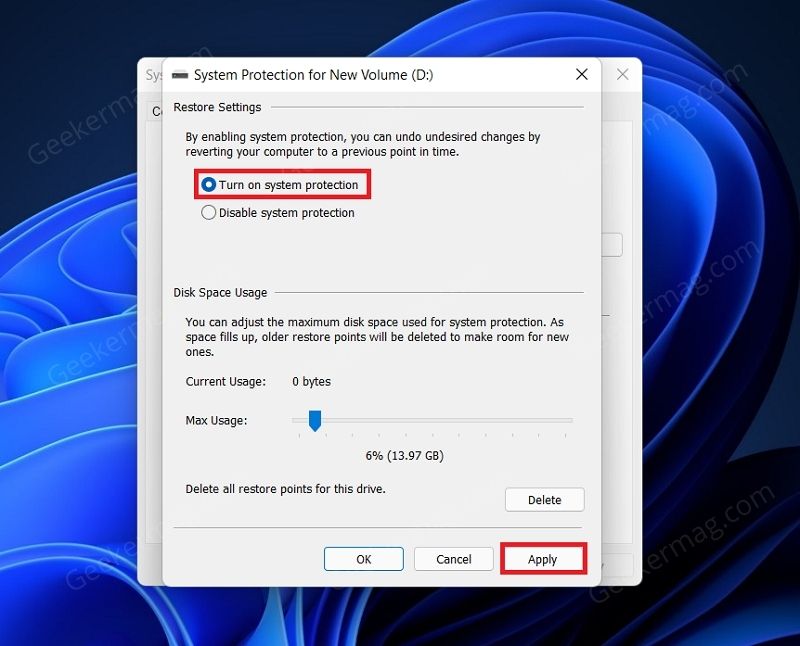
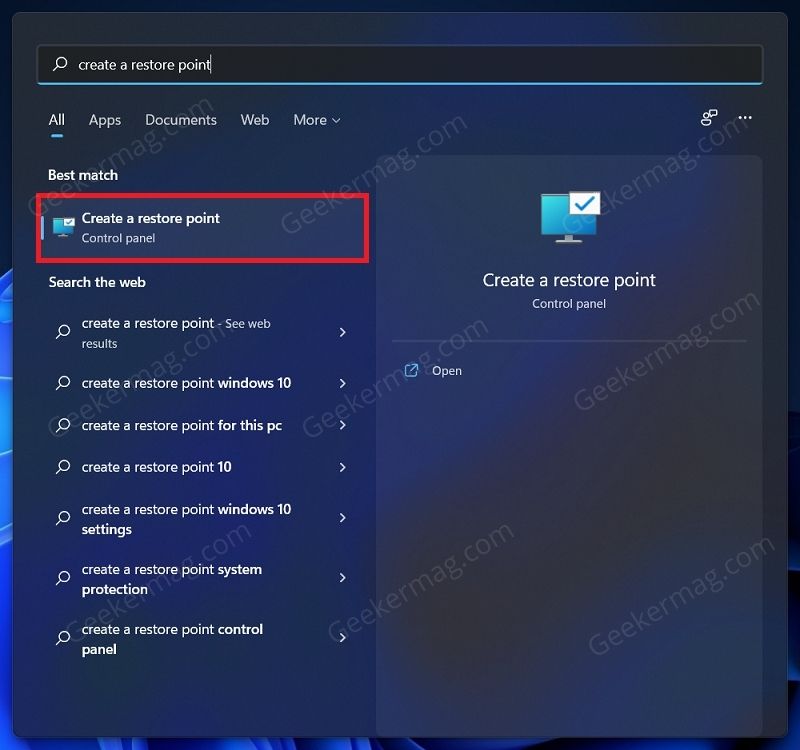
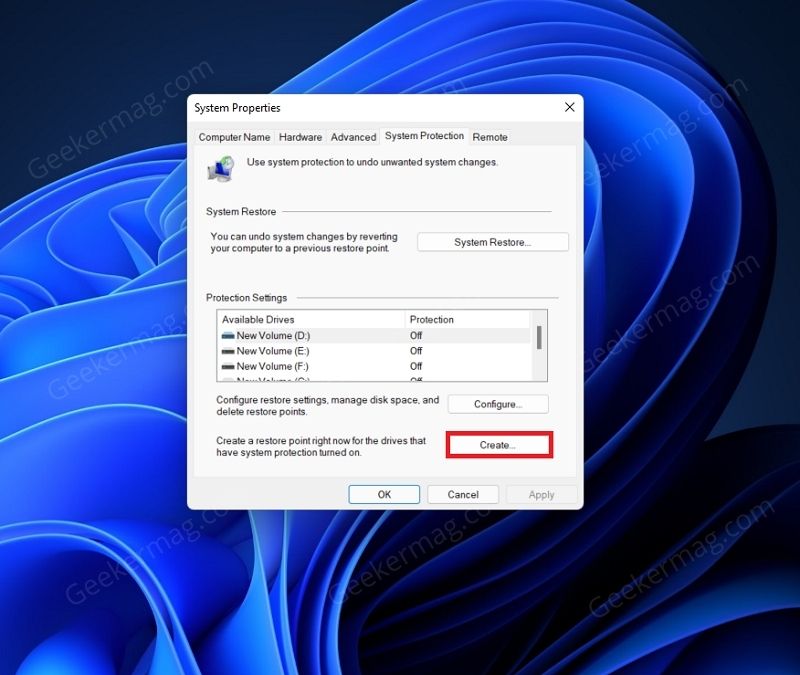
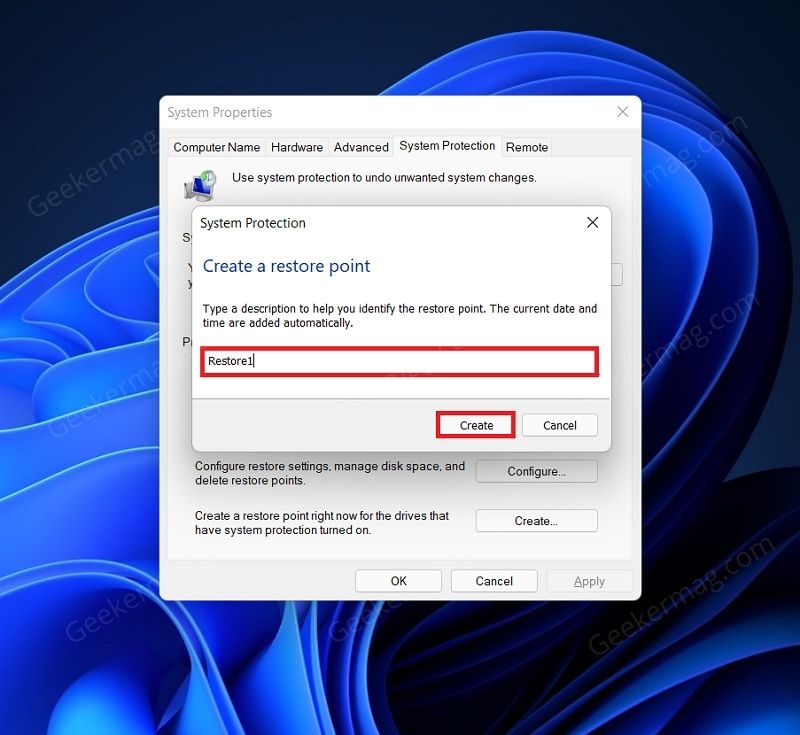
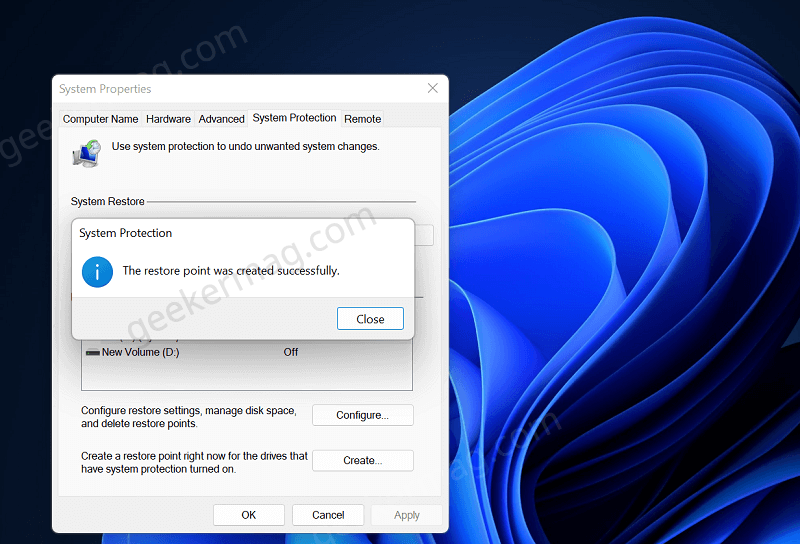
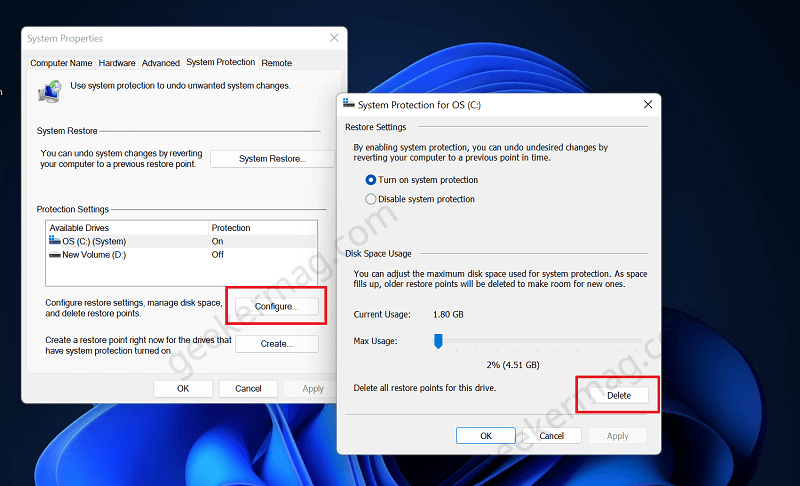
Before doing that, it is very important to know if the System Restore feature is ON. If it’s OFF, then you won’t be able to create a System Restore point. So first confirm that. Here’s how you can do that: Click on the Search icon on the taskbar, and then search Create a restore point, when it appears in search results, click to open it. In the System Properties window, you need to switch to the System Protection tab. Here, under the Protection Settings see whether the protection is OFF or ON. If it’s OFF, then it means that the System Restore feature is turned OFF. Apart from that, you will find that Create option is grayed out. And you will have to enable the System Restore feature for the drive whose protection is off. Select the drive from the list, and then click on Configure. Under the Restore Settings, select Turn on system protection. You can also increase the storage for the system restore by sliding the slider next to the Max usage. Once done, click on the Apply to enable the System Restore feature. After you have enabled the System Restore feature, you can continue with creating a restore point in Windows 11. To do so, open the System Protection tab in the System Properties. You can do so by searching for Create a restore point in the Start Menu and then opening the relevant search result. Select the drive for which you want to create the restore point. Ensure the Protection status is on. If it is off, then you can follow the steps above to do it. After selecting the drive, click on the Create button. In the next window, you will be asked to enter the name of the restore point you are creating. Click on the Create button to create the restore point. Once the restore point has been created, you will get a message saying “The restore point was created successfully” message. System protection dialog will appear and start creating a restore point. Once the process completes, you will get a message i.e. The restore point was created successfully. Click on the Close button to close the dialog box. And you’re done.
Use Restore point to Restore Windows 11 PC to Earlier date
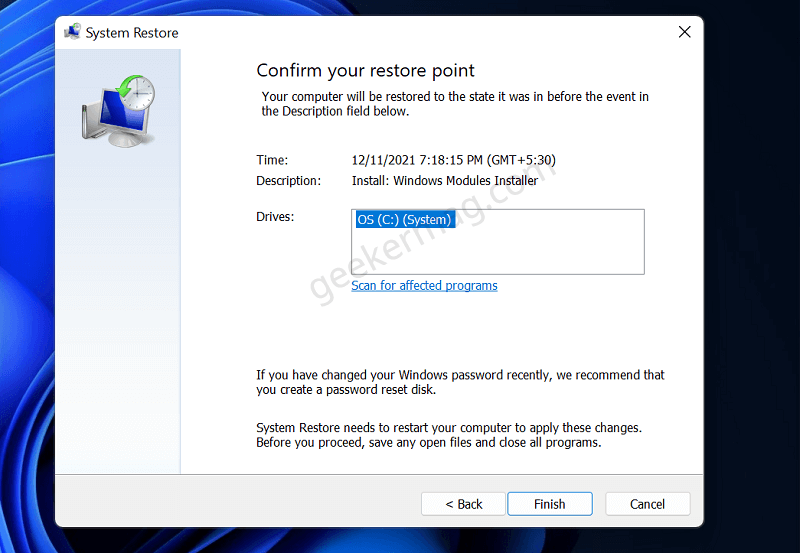
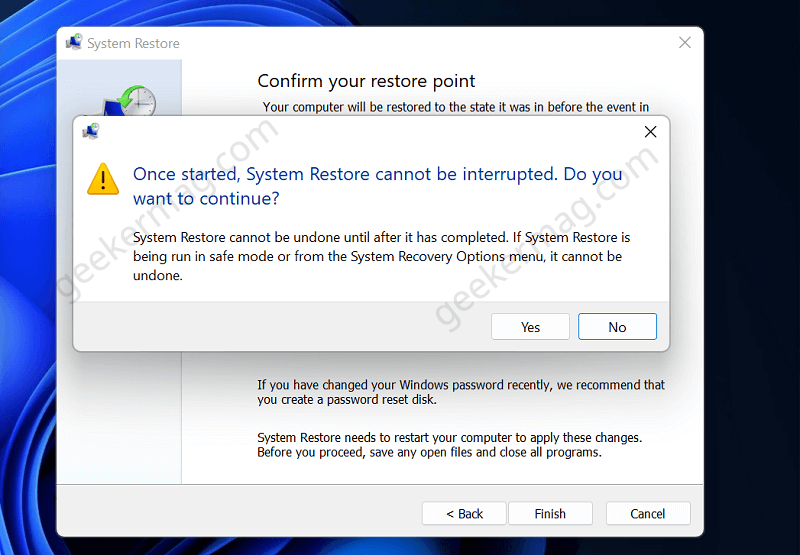
At any point, you feel that your system is not working properly, then you can restore your computer to an earlier state when it was working properly using a restore point, then here’s how you can do that: Note – The system restore is a time taking process so do it only if other recovery methods fails to fix the issue. Click on the Search icon and type “Create a System restore“, when the same results appear, click to open it. In the System Properties window, switch to System Protection > System Restore. Instantly, Restore system files and settings window will appear with two options, Recommended restore (we recommend you to go for this) and Choose a different restore point (go for this method, if you know that there’s a better system point available). Select the preferred options and click Next. In the next screen, you will get full detail about the restore point and additional information. At last, click on the Finish button. Instantly a dialog will appear with a message i.e. “Once started, System Restore cannot be interrupted. Do you want to continue?” Click Yes or NO. depending on your choice. Note – You can click on the Scan for affected files if you want to know what files and drivers are affected. It will scan and show you the list. The same will be deleted from your device and replaced with good ones. Now the system will create a restore point of the current system state, then the system will reboot automatically and start the restore process. Once confirmed system restore process will start. Now, wait, until the process completes.
How to Delete Restore point in Windows 11
Having a restore point is always a good choice, but in any situation you want to delete the restore point in Windows 11, then here’s how you can do that: In the System Properties window, switch to System Protection > Configure. On the next screen, click on the Delete button. Click Apply and OK, wherever required. You’re done. We have explained very well everything about how you can enable, create, restore and delete restore points in Windows 11. In case, you need additional information and assistance, then feel free to us contact in the comment.