Using Bitlocker feature, you can encrypt Windows installation drive (C:), Internal Hard Drive (Fixed Data drives), and Removeable data drive which includes USB Flash and External Hard drive. Once you encrypt drive using Bitlocker, data inside that drive will be encrypted and you have to enter password or recovery key to access data. Windows 11 comes with two types of encryption:
BitLocker Drive Encryption: Allow users to encrypt internal hard drivesBitLocker To Go: Allow users to encrypt external devices and removable media
Unfortunately, Bitlocker Drive Encryption feature comes preinstalled in Windows 11 Pro, Enterprise, and Education.
How to Enable or Disable Drive’s Bitlocker Encryption in Windows 11
In case, you’ve recently installed or upgraded to Windows 11 and want to instructions on how to turn OFF and On BitLocker on Windows 11 PC (Internal and External drives.), then in this blog post you will learn everything you need to know. Before start following the procedure, make sure you’re logged in as administrator on your Windows 11 PC.
Use Settings app to Enable Drive Encryption in Windows 11
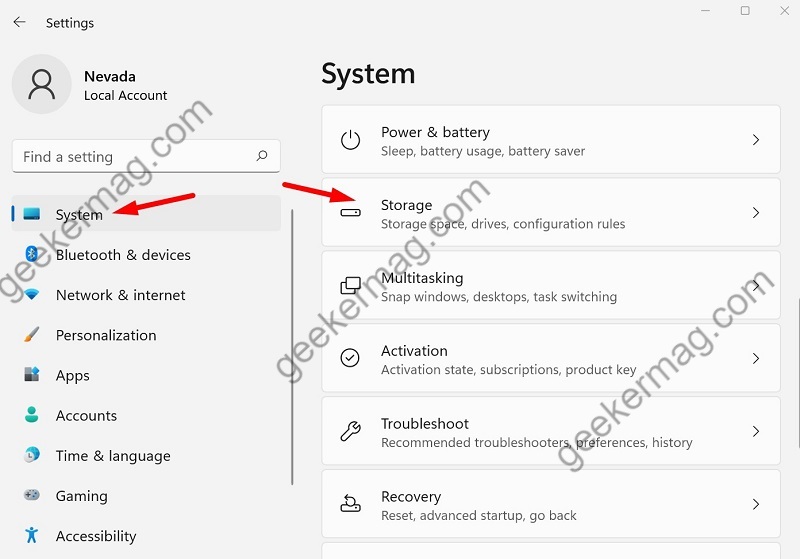
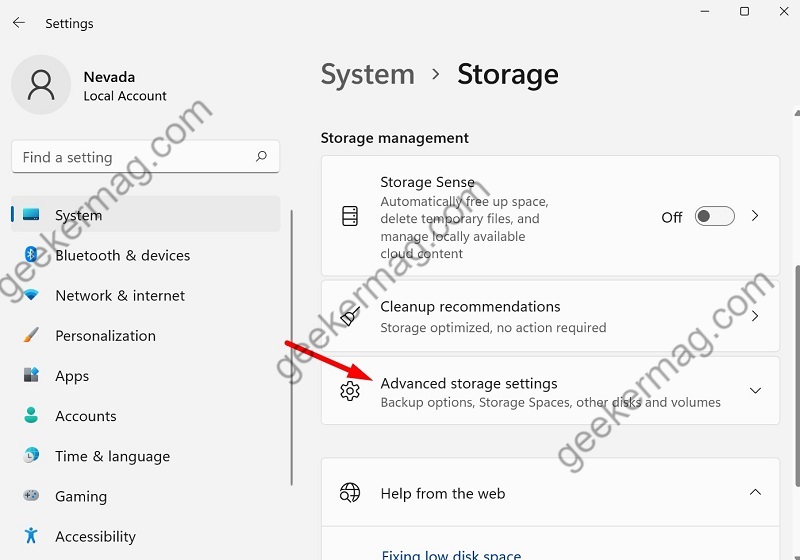
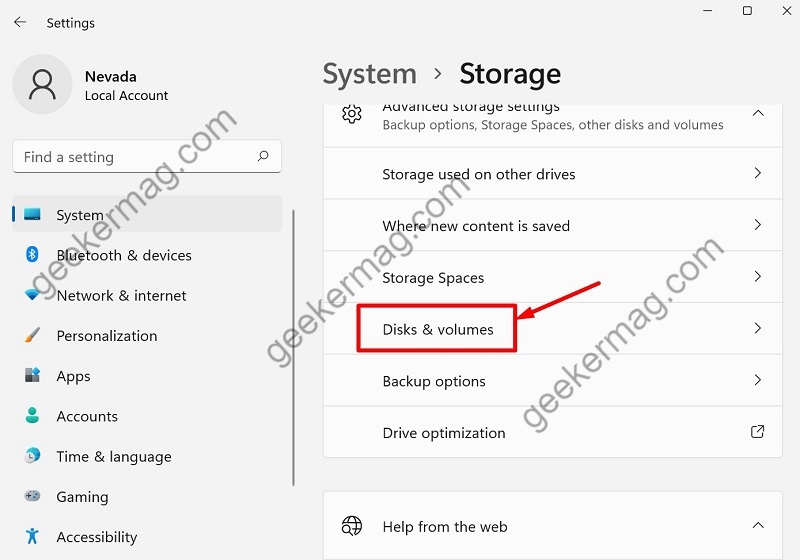
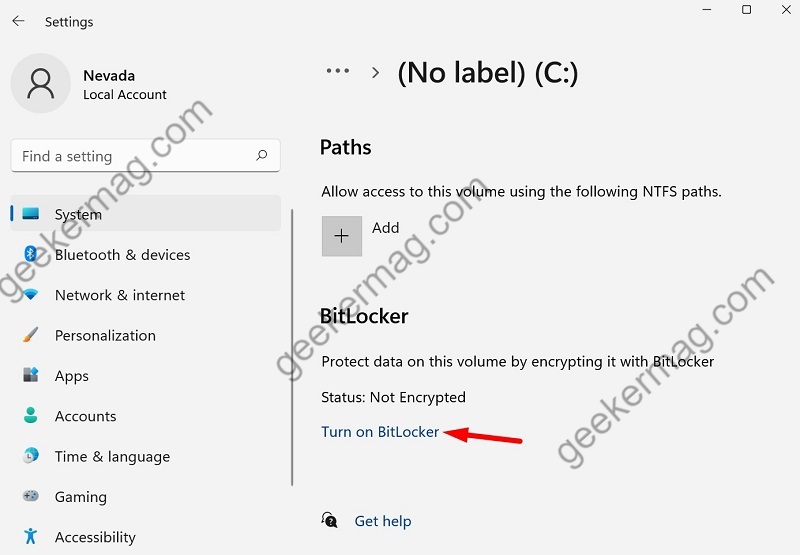
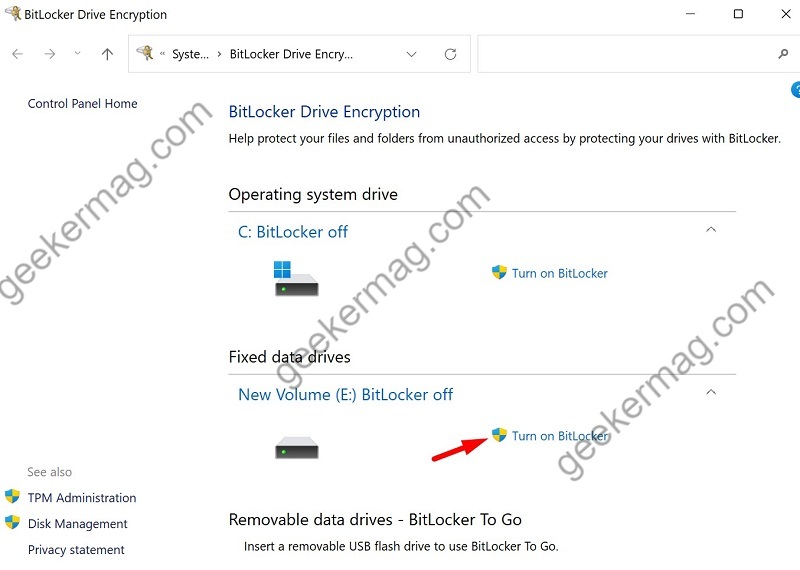
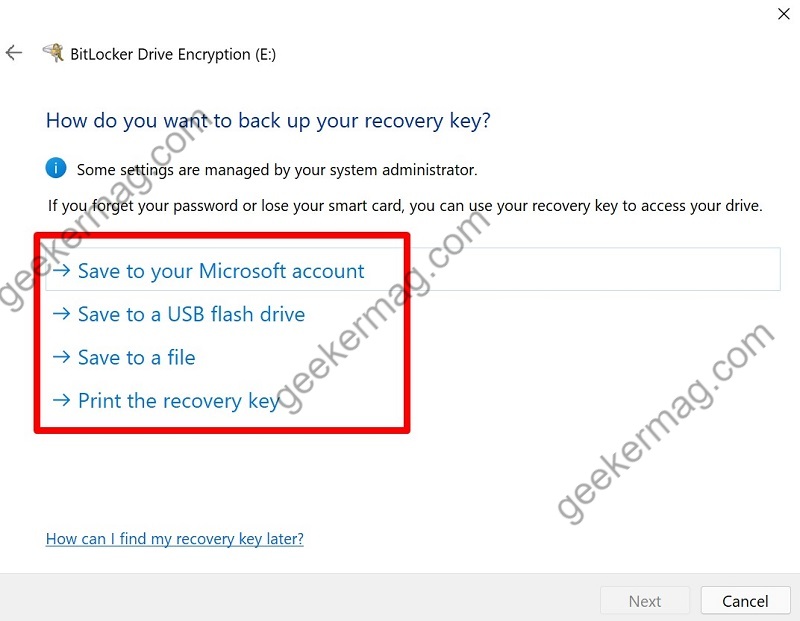
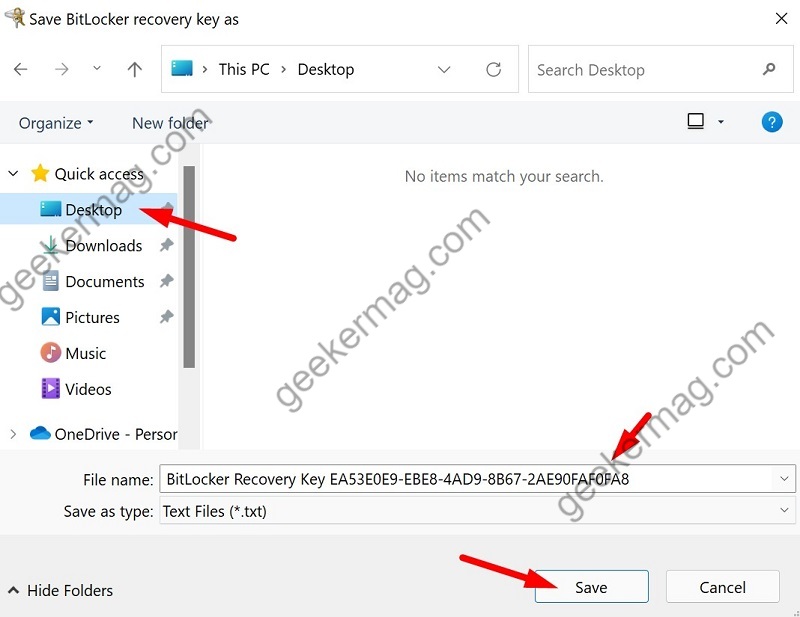
Click on the Start button and select Settings button from the Start menu. Or you can use WIN + I key combo to launch Settings app. In the Settings app, select System > Storage. In the Storage settings page, scroll down and click on Advanced storage settings. Clicking on it will unlock more options, select Disk & Volumes. Under Disks & Volumes page, you will find list of all drives on your PC. Select the drive for which you want to enable Bitlocker Encryption and then click Properties button. Here, Scroll down to Bitlocker section and then click on Turn on BitLocker. This will open BitLocker Drive Encryption window in Control panel. Here again, you will find all the drives again and then click on the Turn On BitLocker link again. Next, you will see “Use a password to unlock the device” window. Here, you need to select an option to unlock your device. Check the box for “Use a password to unlock the drive” and then enter your password, click Next. If you’re seeing any other option that you prefer over Password, then you can also go for it. Alternatively you can directly reach on the following screen as well. For that, right-click on the particular drive that you want to encryption, then select “Turn Bitlocker On” option from the menu. Next, you will see “How do yo want to back up your recovery key“. Here, you need to select where you want to save recovery key. From the various options available, select the one you prefer. Note – This recovery key is very important to unlock encrypted drive so make sure to save it somewhere safe. This will take you to same screen Here we choose Save to a file. Select desktop and save the file on your computer. Once saved, click on Save. In case, you’re receiving a message that you can’t save Recovery key on this location, then its possible that you’re saving a file in location that you’re encrypting. Next, you will see “Choose how much of your drive to encrypt“, you can read description about how it works. Here, you will find two options:
Encrypt used disk space only – This will encrypt only currently used space on your drive.Encrypt the entire drive – This option will encrypt your entire drive.
Choose your option and click on Next. Next, you will see “Choose which encryption mode to use“. Here, you need to select Encryption mode. Again, you will find two options:
New encryption mode – best for fixed drives on this deviceCompatible mode – best for drives that can be moved from this device
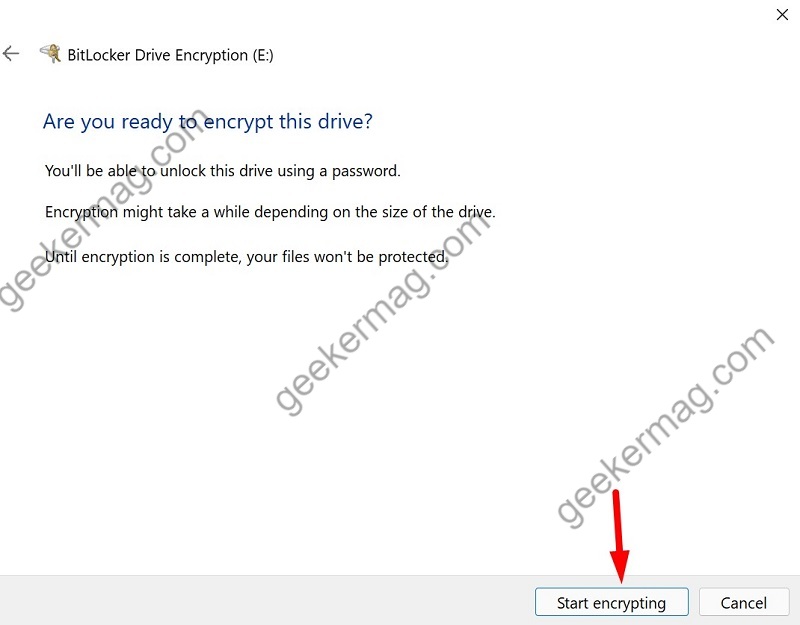
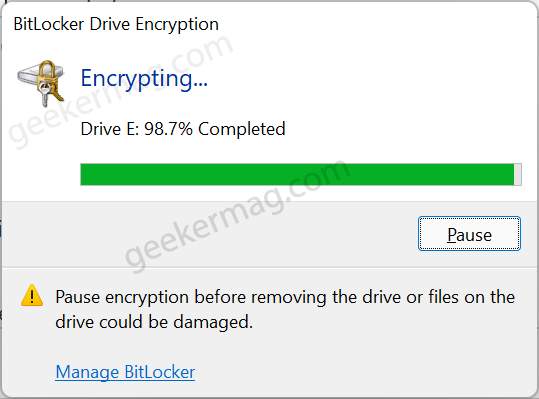
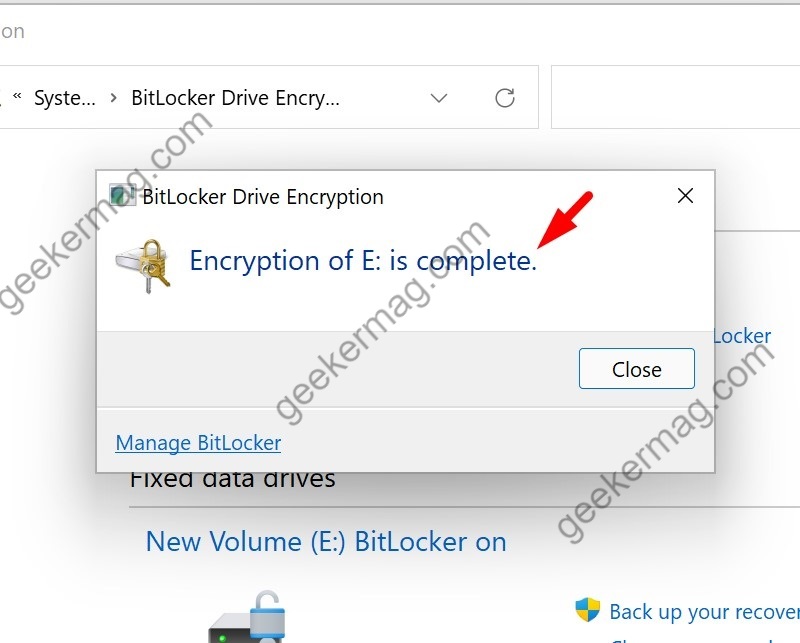
Select the one you want and click Next button. In the end, click on Start encrypting. The option will start encrypting your selected drive. It will take some time depending on your data. Once done, you will see a Bitlocker Drive Encryption dialog with message that says, “Encryption of (drive) is complete“. The Padlock icon on the drive confirms that it is encrypted with Bitlocker. From now onwards, whenever you want to access the particular drive, you need to use Bitlocker recovery key or password that you have setup above to unlock the drive.
Use Settings app to Disable Drive Encryption in Windows 11
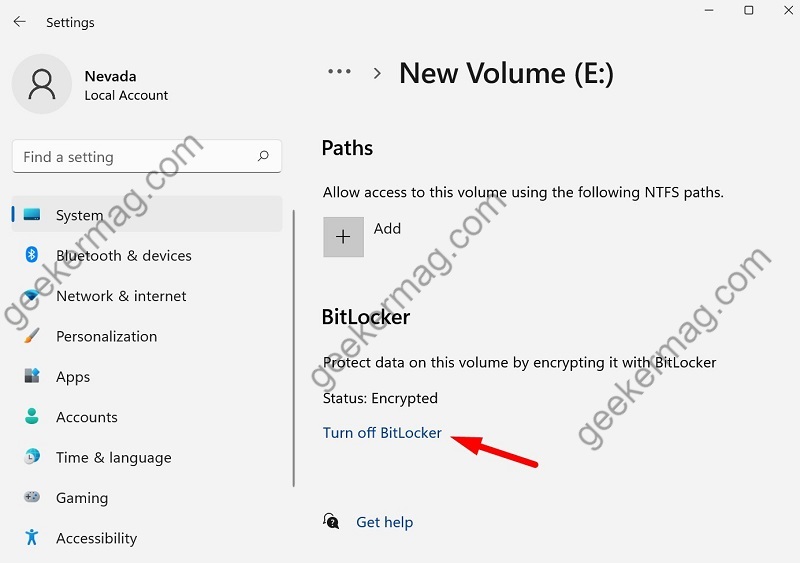
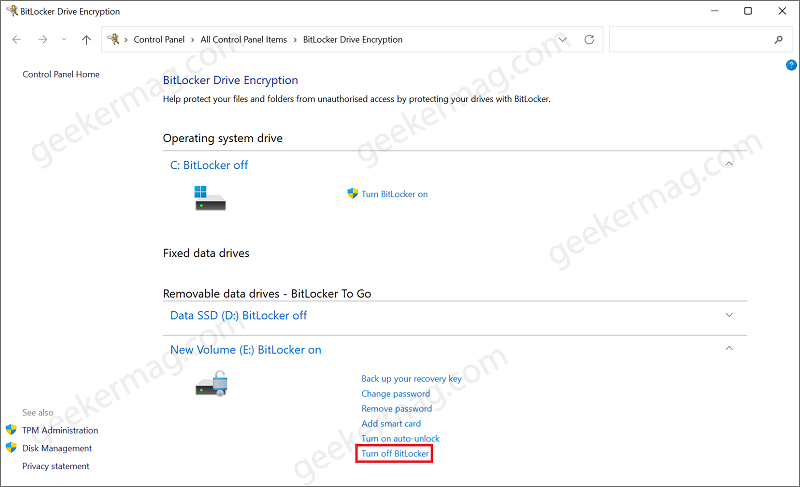
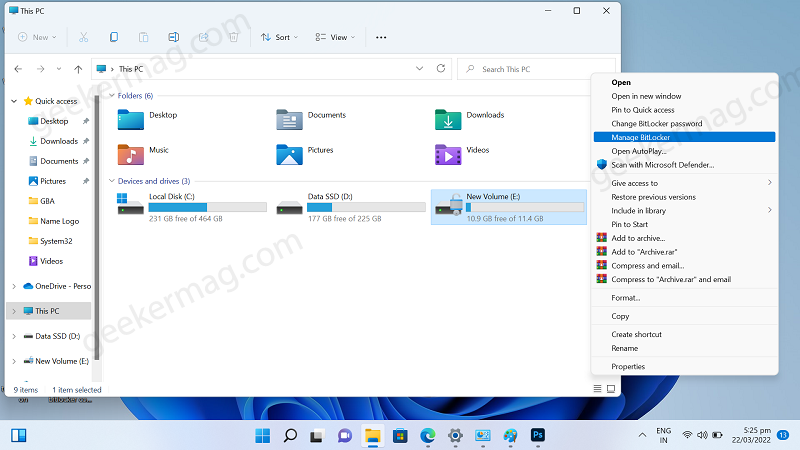
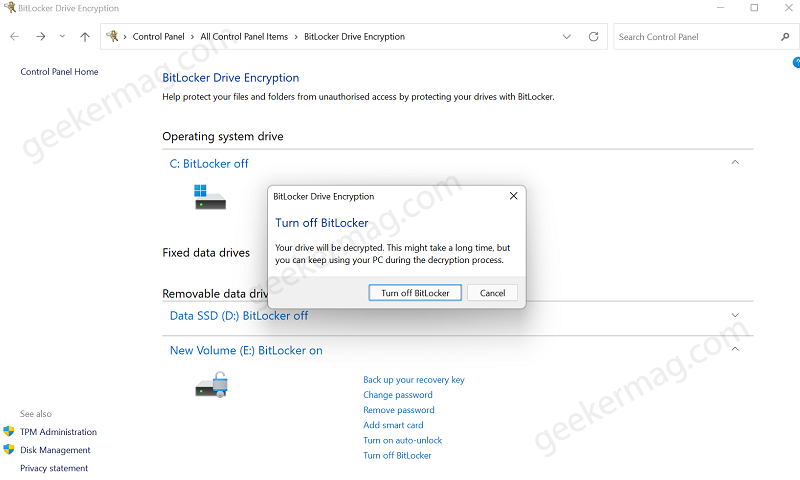
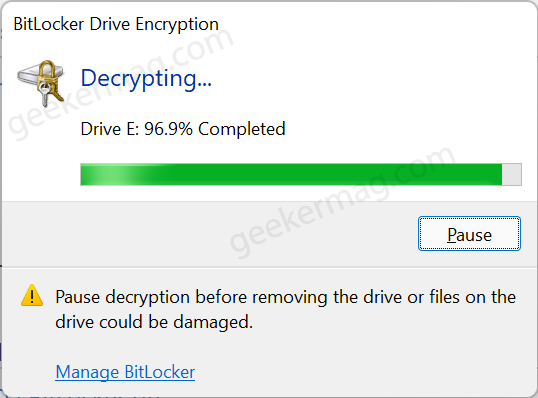
At any point, you want to turn off Bitlocker in Windows 11 due to whatever reason. Here’s how you can do that: Launch Settings app in Windows 11 by pressing WIN + I key combo. You need to go to System > Storage > Advance storage settings > Disks & volumes. Here, locate the same drive and then click on the properties of the drive which is encrypted. Click on Turn Off BitLocker. This will take you to Bitlocker Drive Encryption in Control Panel. Alternatively, you can reach same Control panel setting from File Explore as well. For that, right-click on the drive that you want to Decrypt and then select Manage Bitlocker. Here, select the drive for which you want to turn off Encryption and then click Turn off Bitlocker link. A dialog box will appear asking for the confirmation, again click on Turn off Encryption button. Another dialog box will appear showing your Decryption status of the drive. Once done, you will get a dialog with a message that Decryption for (drive) completes. Article is still under development for more methods…..