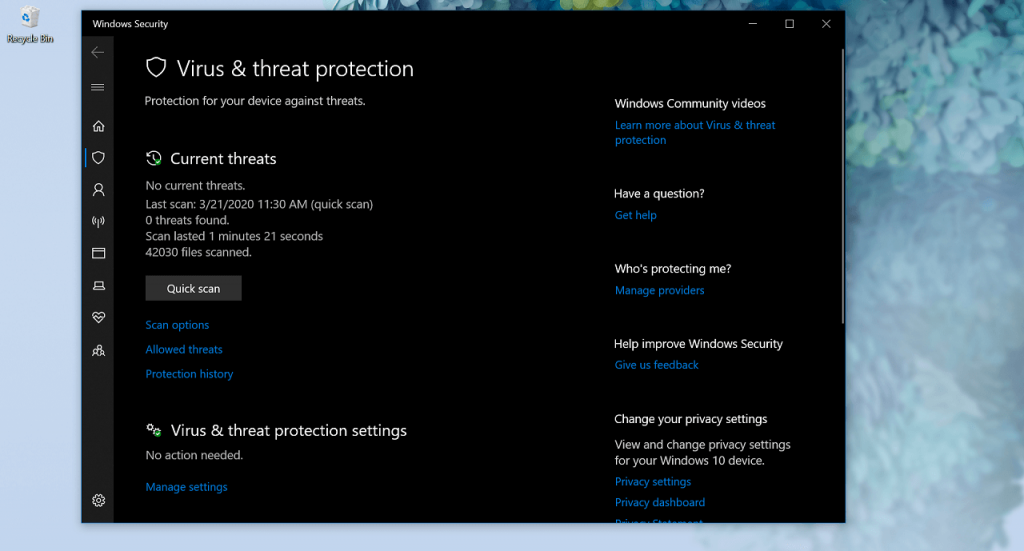
In case, you’re also facing the same issue, then you might want to enable Network file scanning in Windows Defender on Windows 10 to fix the issue.
Enable Network File scanning in Windows Defender
With default settings, Scan Network File feature is disabled in Windows 10 and there are three ways using which users can enable it. Let’s start with the first method:
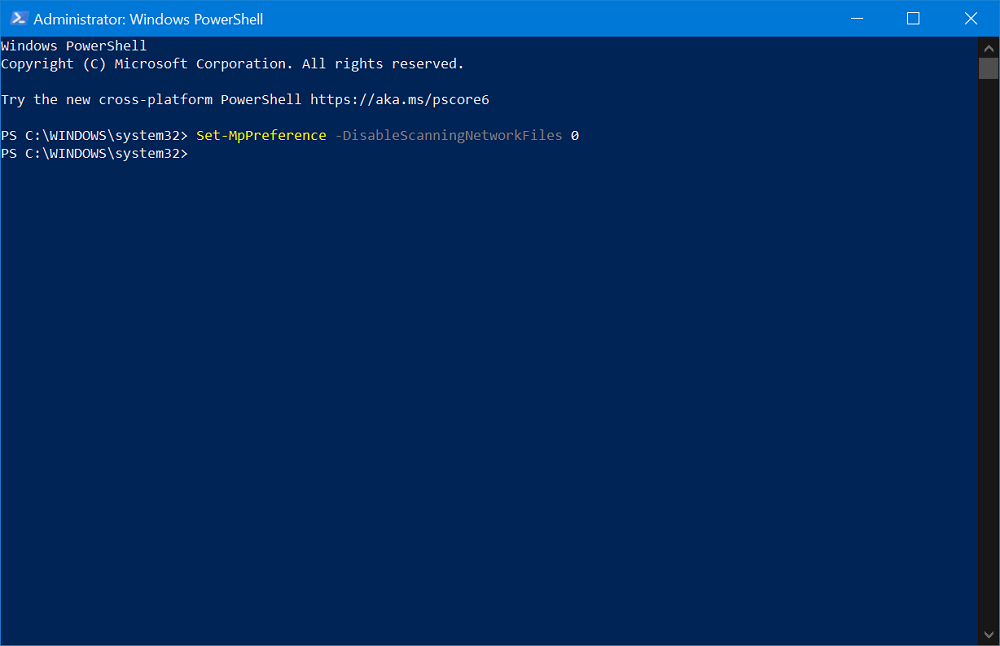
1. Windows Powershell Method
Launch Windows Powershell with Admin rights. For that, right-click on the Windows 10 button and select Windows Powershell (Admin). When the UAC dialog box appears, click Yes to continue. Next, you need to type and execute the following command: Set-MpPreference –DisableScanningNetworkFiles 0 There will be no output for this command. In case, you want to disable this feature, then you need to replace 0 with 1 in the above command. Close the Windows Powershell.
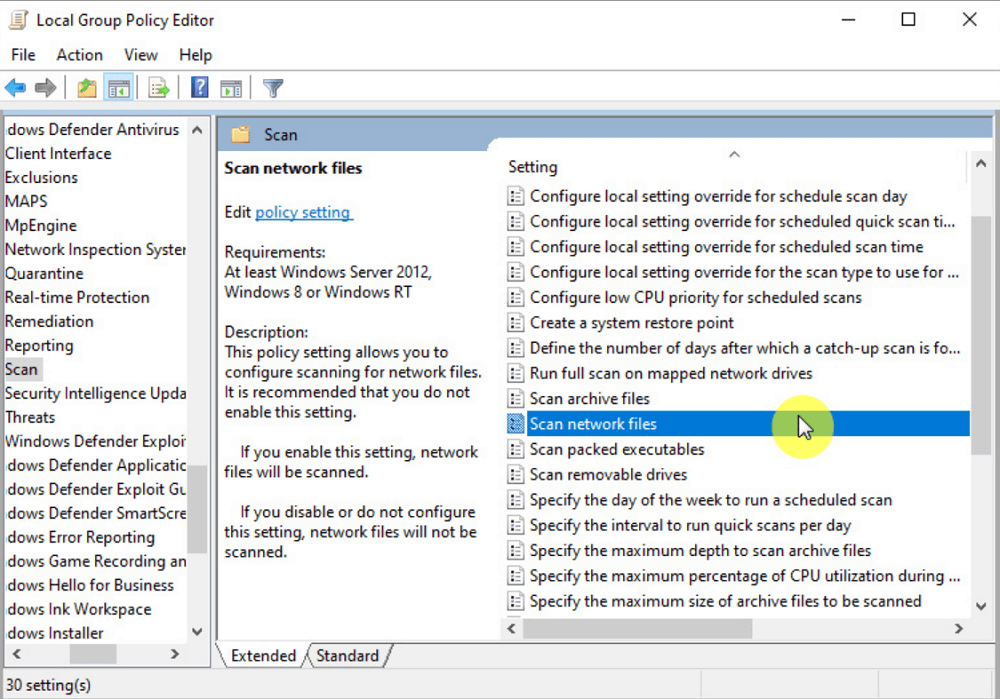
2. Group Policy Method
Group Policy method works only in Windows 10 Pro and Windows 10 Enterprise edition. In case, you’re running of these editions, then here’s what you need to do: In the Start menu search bar, type gpedit.msg or Group Policy Editor. When the same result appears in search, click to open it. Next, you need to head over to the following location: Computer Configuration > Administrative templates > Windows components > Windows Defender Antivirus > Scan Here, you need to double click on the “Scan network files” option change the settings from Default to Enabled. After doing this, all the network files will be scanned by Windows Defender. To disable it, you need to change it to Default.
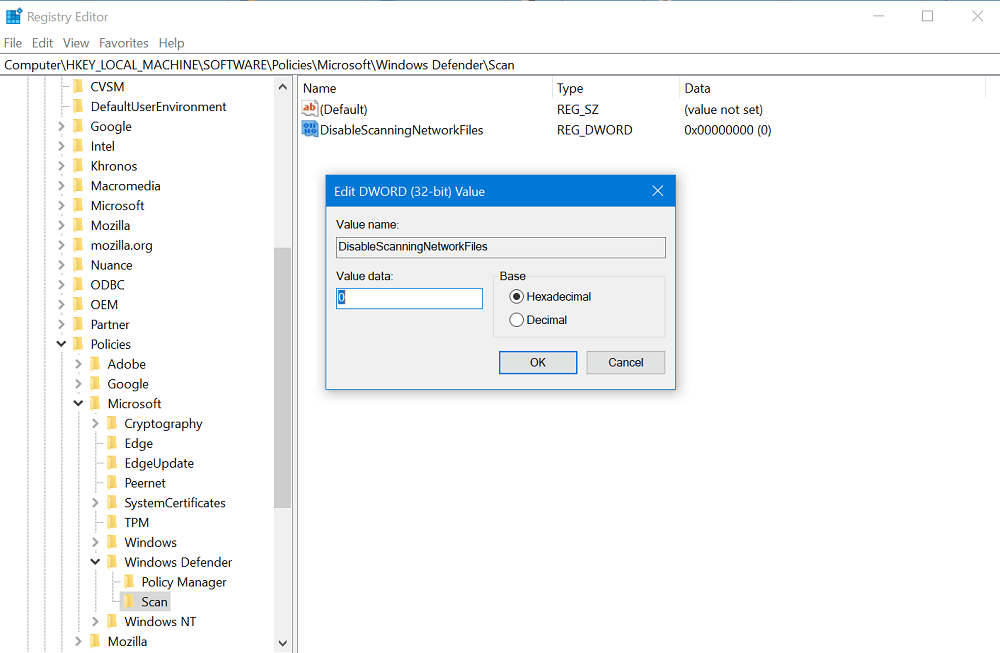
3. Registry Editor Method
- Launch Registry Editor. For that, type regedit in the Start menu search bar and when it appears in the results, click to open it.
- Next, you need to visit the following registry key: HKEY_LOCAL_MACHINE\SOFTWARE\Policies\Microsoft\Windows Defender\Scan In case, Scan key is missing you can create it. For that, right-click Windows Defender > New. Next, name it Scan.
- Here, you need to create a new 32-bit DWORD value called DisableScanningNetworkFiles. In case, you’re using a 64-bit system still you need to create 32-bit DWORD value.
- Next, double click on the same DWORD value and keep its Value data to 0.
- Reboot your computer to apply the changes. To enable the Network file scanning, then you can either delete the DWORD file or change its value data to 1. So these are three different methods that you can use to enable Network File Scanning in Windows Defender in Windows 10. Via – Winaero