The network profile helps you in quickly finding a password of a Wi-Fi network with which your Windows 11 PC is connected previously or currently. For example, you want to connect your mobile with same wireless connection with which PC is connected but don’t know the password, then you can retrieve the password by making few clicks.
No matter what is your reason behind finding a Wi-Fi network password. In this blog post, you will learn possible ways to The following blog post find and see Wi-fi passwords in Windows 11
View password of currently connected Wi-Fi network in Windows 11
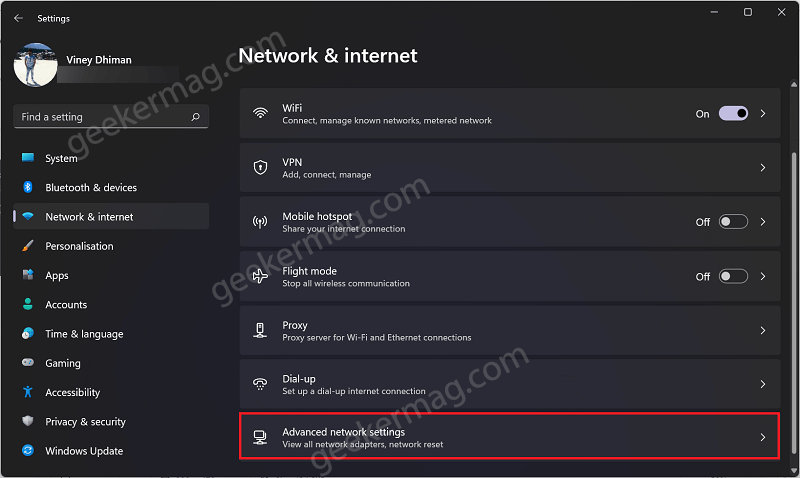
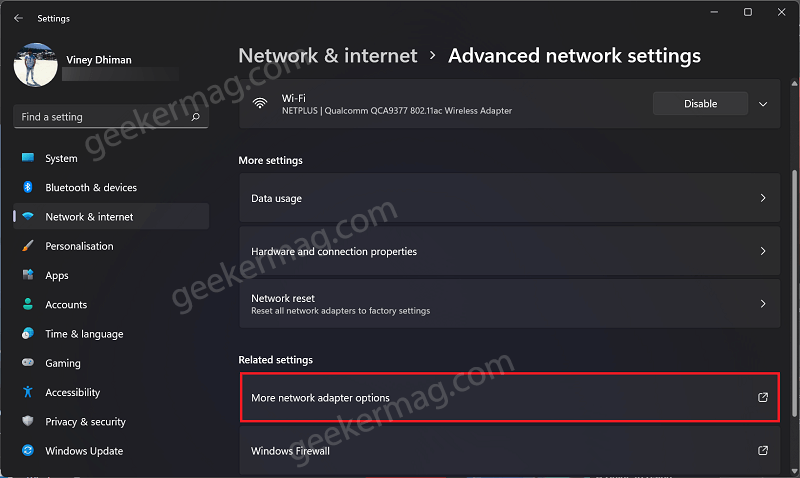
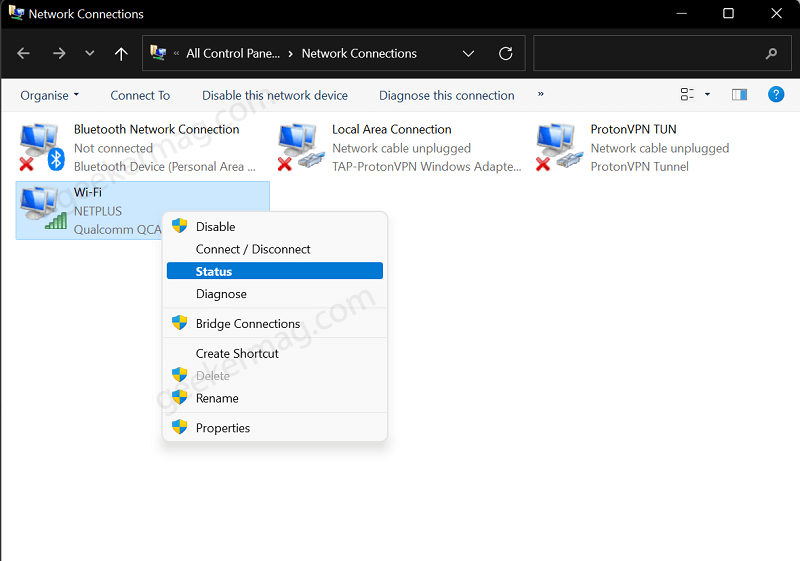
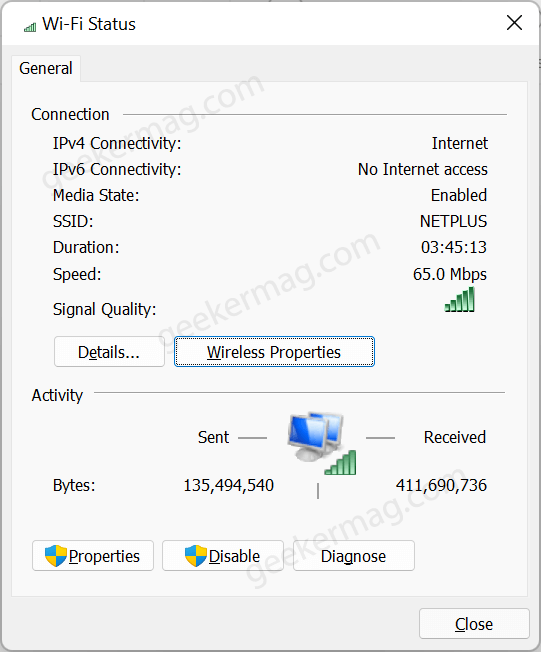
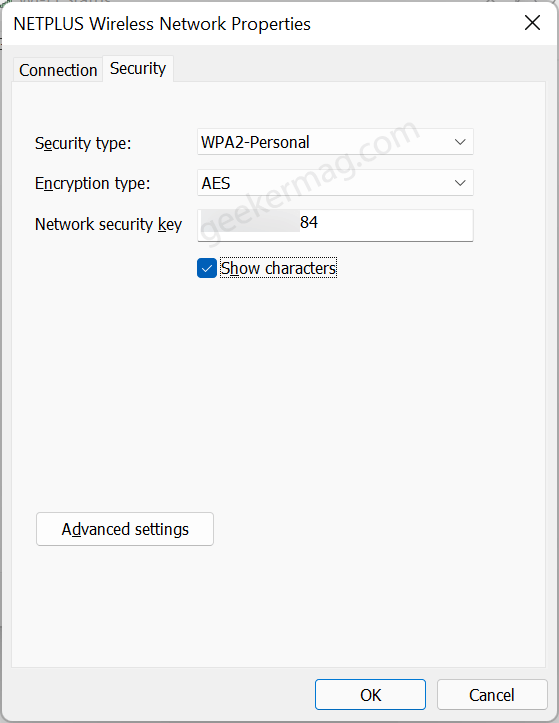
Launch Settings app in Windows 11 by pressing WIN + I key combinations. Select Network & internet > Advanced network settings. On the right side, scroll down to Related settings section and click “More network adapter options” option. This will take you to Network connection setting page in Control panel. Here, you need to right-click on the Wi-Fi icon and then select Status from the menu. In the Wi-Fi status window, click on Wireless properties button. Next, you need to switch to Security tab. Here, you will find a Network security key option and next to it, you will find saved password of wifi-connection with which your Windows 11 PC is connected. To view the character of password, check the box for “Show character”. This will unhide the password, you can save it somewhere. The above method is useful to find the password of Wi-Fi Network with which their Windows 11 PC is connected. In case, you want to find password with which your PC was connected previously, then check method discussed below.
View saved passwords of all Wi-Fi networks in Windows 11
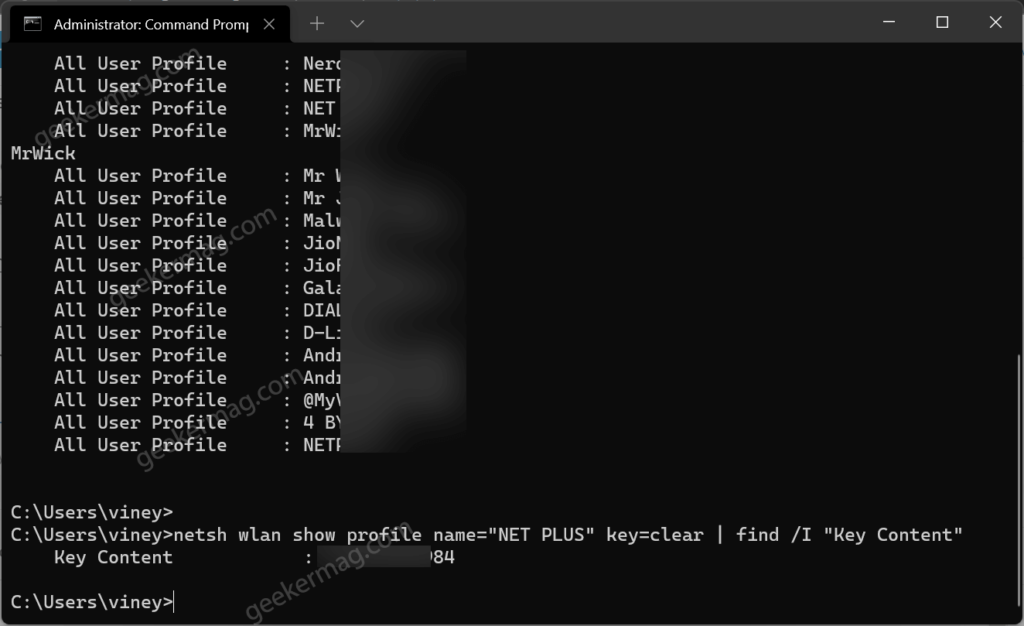
Launch Windows Terminal app in Windows 11 PC. For that, right-click on the Start button and then select Windows Terminal (Admin) from the menu. When UAC dialog box appear, click Yes to continue. Depending on your requirement open shell profile, it could be Windows PowerShell and Command prompt. For this post, I’m using Command Prompt. In Command Prompt window, you need to copy-paste this command: netsh wlan show profiles and hit enter. This will show you list of all the Wi-Fi connection with which your Windows 11 PC is connected. From the list, copy the profile who password you want to find out. Next, you need to copy-paste this command: netsh wlan show profile name=“Profile Name” key=clear | find /I “Key Content” and hit enter. In above, you need to replace Profile name with name of your wifi profile whose password you want to know. In my case, its NET PLUS. Instantly, the password will appear next to Key content option in the next line. You can note it somewhere. You can repeat the command discussed above to find passwords of as many network profiles in Windows 11..
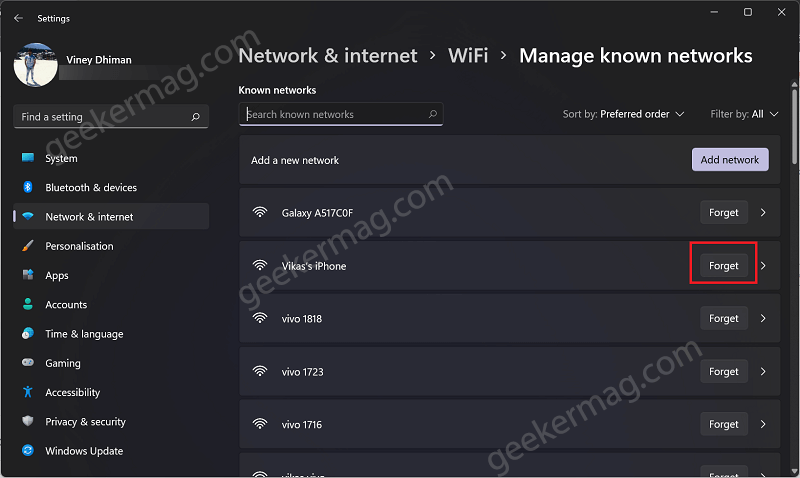
Delete a Wi-Fi network profile in Windows 11
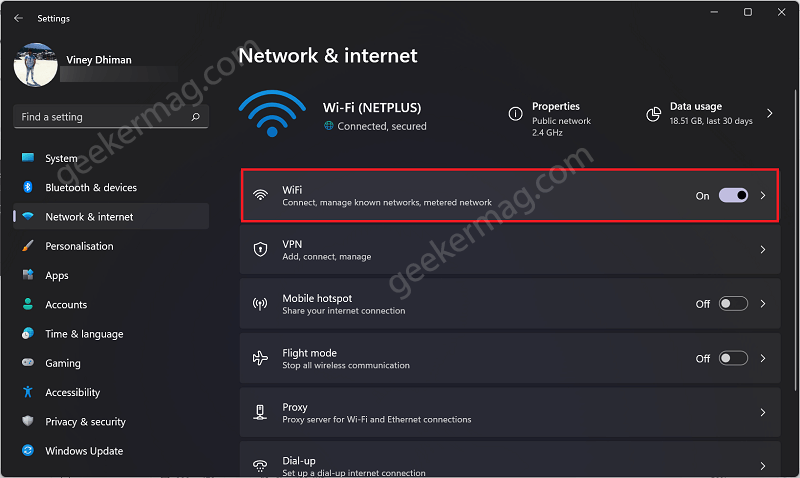
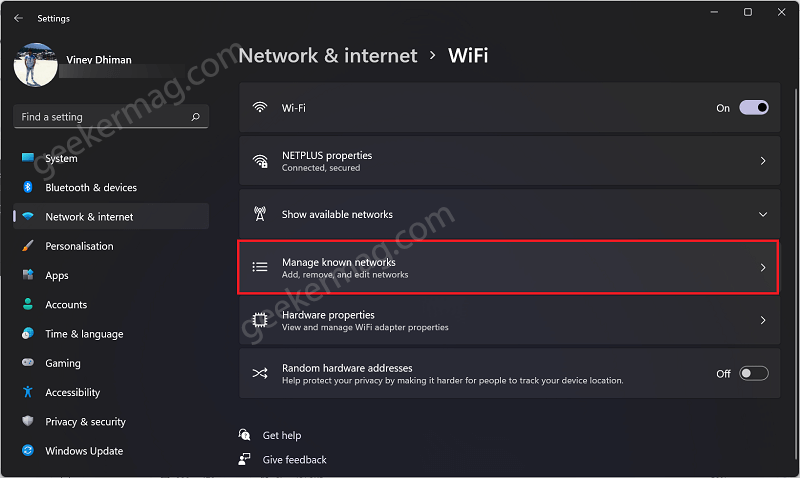
In case, you figure out that there are lots of inactive network profiles connected to Windows 11 PC, then you can also delete it. When you do it, all the data including SSID, Password and other will be deleted from your computer. Here’s how you can do that: Launch Settings app in Windows 11 PC by pressing WIN + I key combinations. Select Network & internet > Wi-Fi. Here on the right side, select Manage known networks. Instantly, you will get list of all the Wi-Fi networks with which your Windows 11 PC is connected previously. To delete particular Wi-fi network from Windows 11 PC, you need to click on the Forget button and you’re done.