In that situation, users relied on the Windows Installation Assistant. While some users used it successfully and upgraded to Windows 11, others have reported the installation assistant not working. If you are also experiencing the issue check out this guide to fix the installation assistant in Windows 11.
Windows 11 Installation Assistant Requirements
Bbefore jumping into the troubleshooting steps, you must ensure your device meets the requirements for running Windows 11. The installation assistant was designed to upgrade to Windows 11 from Windows 10 and to proceed, the following conditions are required.
You are using the original Windows 10 with a valid license. Your computer meets the required hardware specifications for running Windows 11. At least 9GB of disk space for downloading Windows 11. Additionally, Windows 11 Installation Assistant doesn’t run on ARM-based computers.
If you are not sure your PC meets these requirements you can install the Microsoft’s PC Health Check App. It willl check your computer’s eligibility for running Windows 11.
Fix Installation Assistant Not Working in Windows 11
Now when you are sure that your PC is compatible but the installation assistant is still not working then proceed with the below fixes.
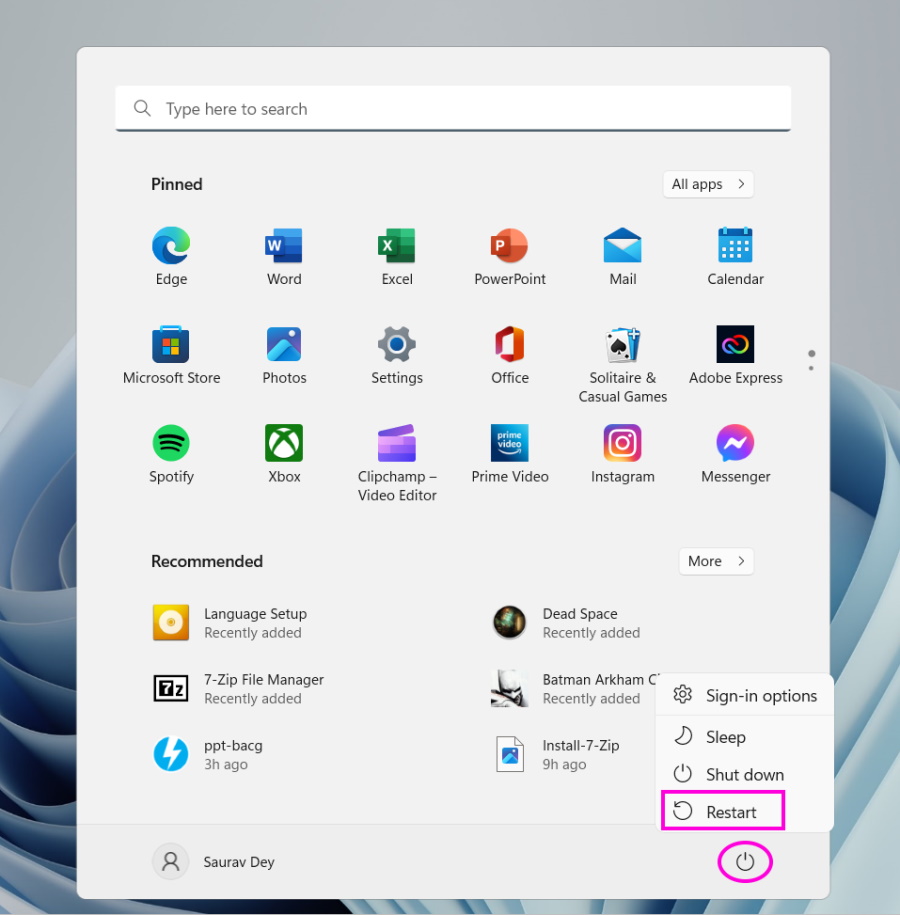
1. Restart the Computer
Restarting the computer is likely to fix the problem if it occurs due to a bug or system glitches. It is a different question if you have bigger internal issues or if your computer doesn’t have the necessary hardware. Whatever the case, at least once restart the computer. Who knows, maybe the problem will disappear, and you will be able to install Windows 11. Open the Start Menu, click the Power button, and choose the Restart option.
2. Run Installation Assistant with Administrator Rights
If restarting the didn’t fix the installation assistant, try running it with Administrator rights. One or more third-party applications on your computer may interfere with the installation assistant utility making the installation fail. So, running the assistant utility with Administrator privilege may fix the problem. Here’s how to do it.
- Find the Windows 11 Installation Assistant program file. It may be located in the Downloads folder.
- Right-click the program file and select Run as administrator from the drop-down menu.
- You will be asked permission to launch Windows 11 installation assistant with Admin rights via a pop-up. Click Yes on the pop-up to allow. After that, follow the on-screen steps to execute the procedure on your computer successfully.
3. Disable Antivirus
It is unlikely Windows Defender will cause any problems with the installation assistant. But if you are using a third-party antivirus program for securing your computer, it might affect the Windows 11 Installation Assistant and cause it to fail. You should disable the antivirus and launch the installation assistant with Administrator privilege. If you are not aware of how to disable an antivirus program in Windows 11. You can do it from the System Tray. Open the system tray, right-click the program icon, and see the disable option. After that, you will be asked for Administrator access; allow it. Once you disable the antivirus, run Windows 11 Installation Assistant with administrator privilege.
4. Update the Graphics Driver
Graphics drivers are essential for running the PC at an optimum level. But an outdated driver can cause the exact opposite; it can cause many unexpected issues. So, if the Windows 11 Installation Assistant is still not working, check the graphics driver. If the latest update isn’t installed, do it immediately.
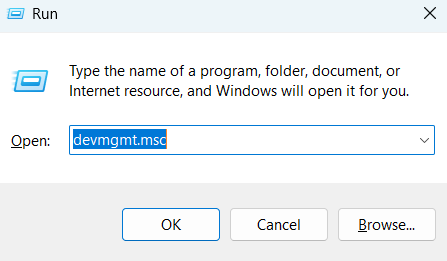
- Press the Win + R keys on the keyboard.
- Type devmgmt.msc in the dialogue box.
- Hit Enter or click OK.
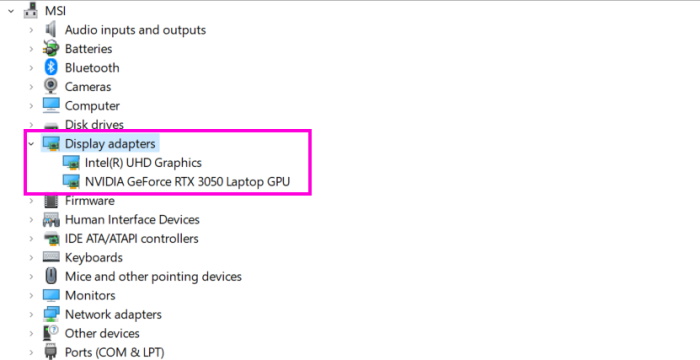
- In the Device Manager panel, click Display adapters to expand.
- Right-click the display adapter and select the Update driver option from the drop menu. Windows will start looking for the latest graphics driver.
- The alternate option is to choose the Uninstall Device option. After that, you must manually download the latest graphics driver from the manufacturer’s website; for example, Nvidia. Once the latest driver is installed on your computer, restart it. After that, initiate the Windows 11 Installation Assistant again.
5. System File Checker or SFC
Corrupter system files can also be responsible for this issue. If the previous methods failed to work and the installation assistant is still not working, you should try running an SFC scan. SFC is a built-in utility that detects and fixes issues. Here’s how to run it.
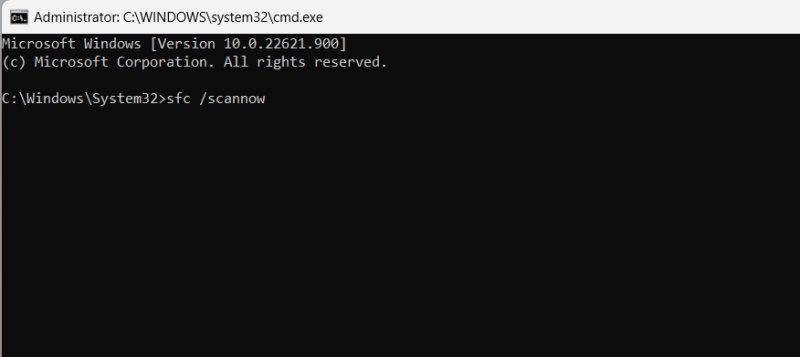
- Open Command Prompt with Admin privilege.
- Open the Start menu, and type Command Prompt.
- Right-click it and select Run as administrator. Choose Yes when prompted.
- In the command prompt window, type the following and hit Enter. SFC will start scanning your computer. It will look for damages and repair them after detection. After the scan is complete, restart your computer. It should be fixed if the corrupted system files were actually the cause of the installation assistant failure.
6. Use Windows Disk Image
If your computer hardware is okay and you have executed all the previous troubleshooting methods and still come up empty, you ultimately have to upgrade using a different method. You can create an installation media using the Windows Media Creation Tool. Check out the below steps.
- Get the Windows 11 ISO from Microsoft.
- Right-click the downloaded file and select Properties from the drop menu.
- Choose the Change option under the General tab, in order to, mount the ISO file without the help of a USB/DVD drive.
- After that, select Windows Explorer and click Apply.
- Right-click the ISO file once again and click Mount for creating a bootable virtual disk.
- Double-click the ISO file open it and view the setup files.
- Launch the setup by double-clicking the setup.exe file. This is it. Complete the process to successfully install Windows 11 on your computer.
Finally, Upgrade to Windows 11
You may have hoped the installation assistant to run seamlessly, but it is failing on a few computers. In most cases, the computer hardware can’t run Windows 11 but some of the issues are genuine. Even though the hardware should support Windows 11, the assistant still shows a failed message. In such cases, our comprehensive guide will come in handy. Try the fixes we have provided above in the article and yoy should be successfully able to migrate to the new iteration of Windows.